# User Guide for App
## How to Connect Bluetooth
Steps:
|  |  |
| --- | --- |
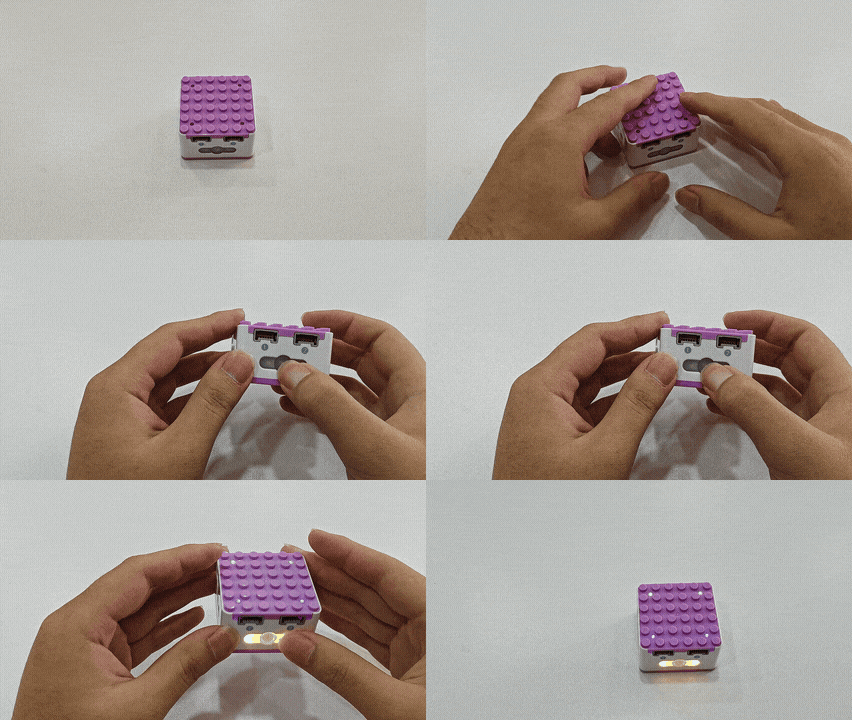
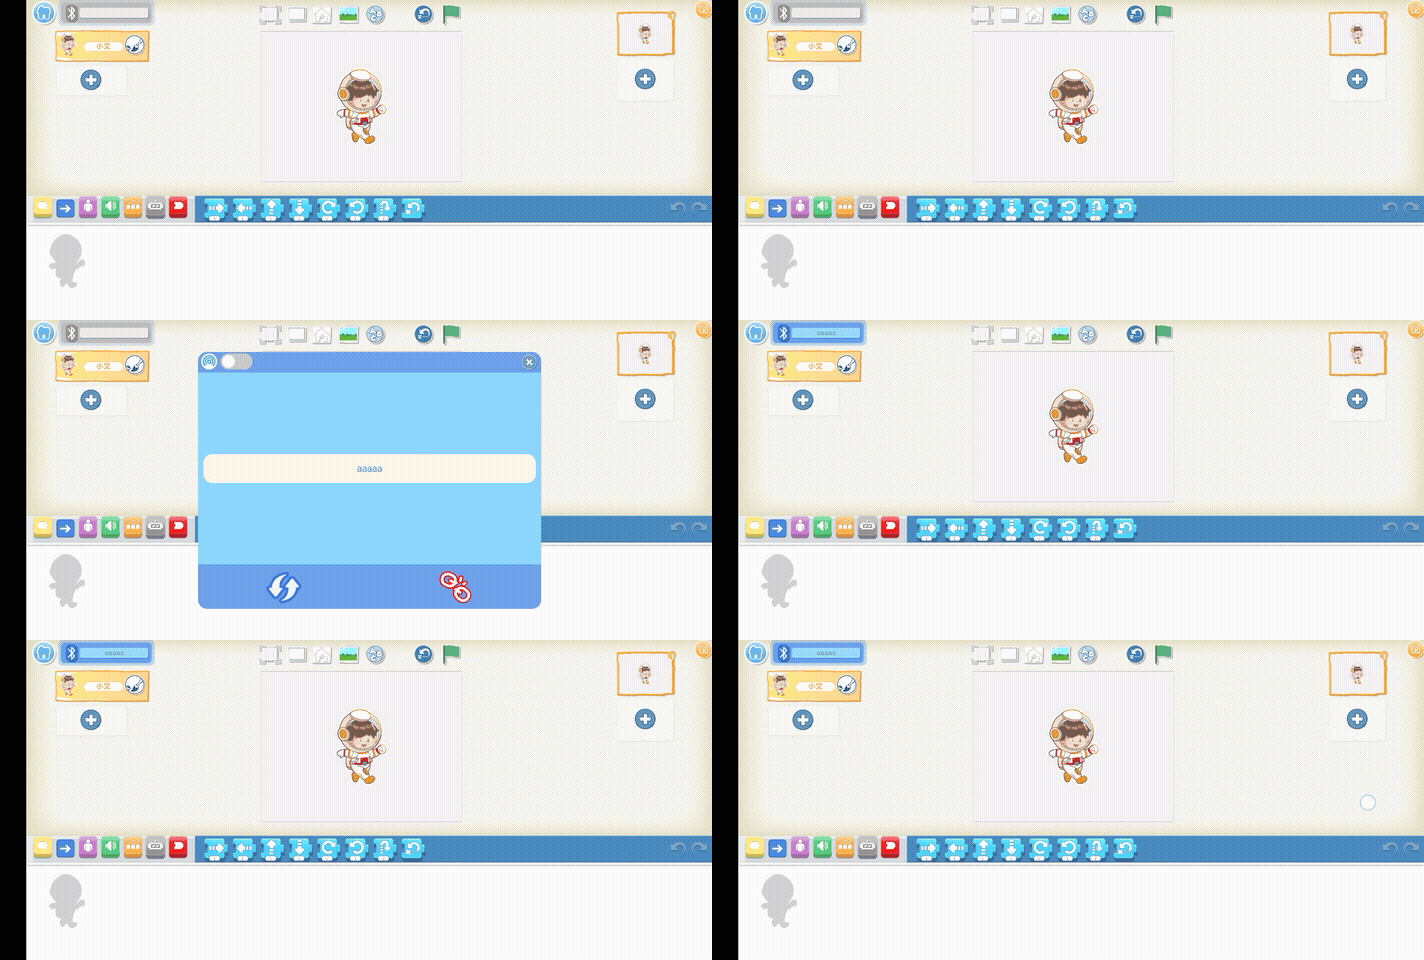
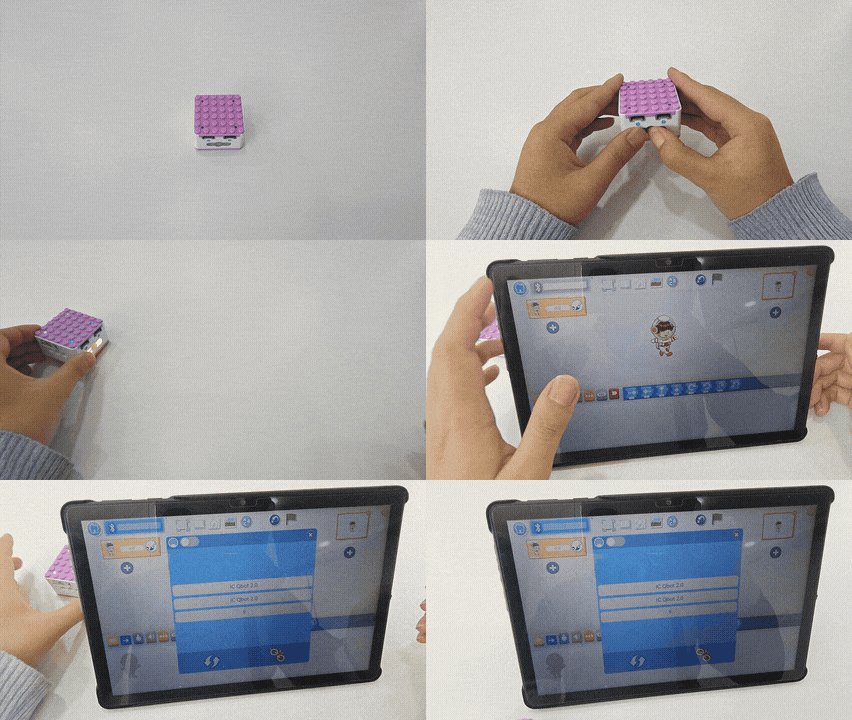
| 1. Press and hold the power button for 3s. | 2. Tap the gray Bluetooth icon in the top-left corner,
then select the Xiao Q Robot's Bluetooth name.
Once the icon turns blue and you hear a 'beep' the connection is successful. |
| 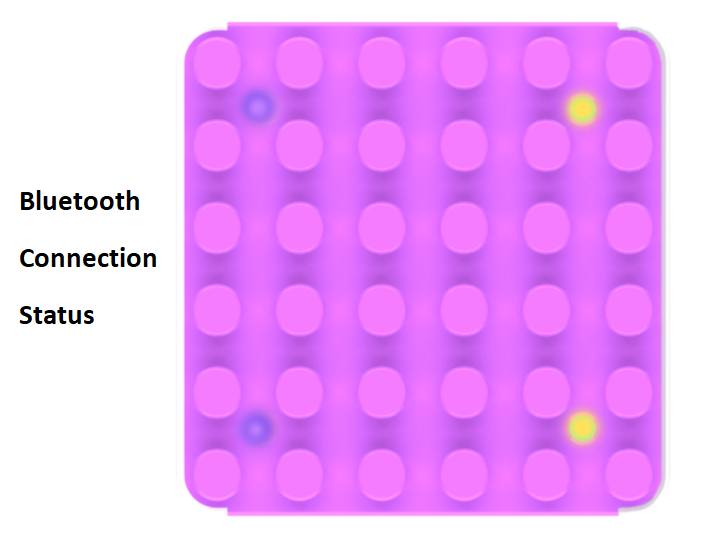 ||
| 3. The input port on the KIDZQbot Xiao Q Robot will glow purple,
and the output port will glow yellow. ||
## Renaming Bluetooth
Steps:
|  |  |
| --- | --- |
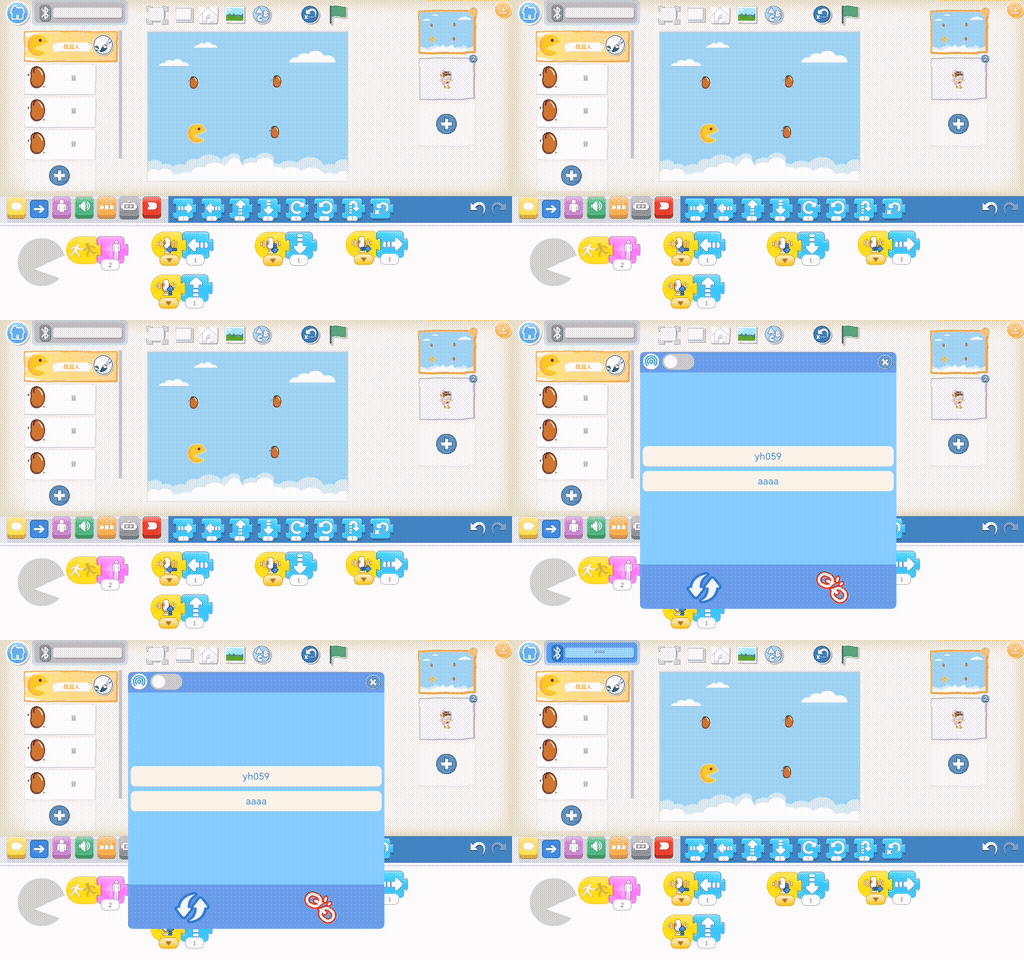
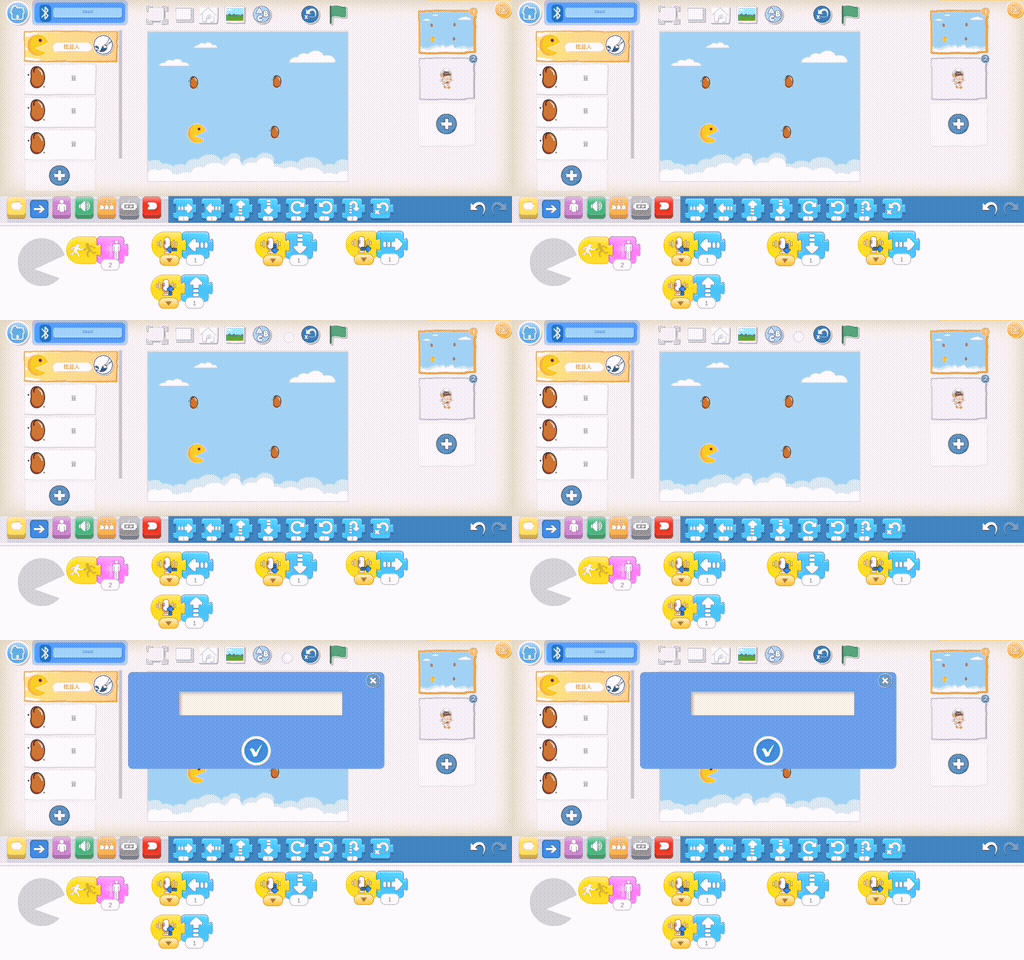
| 1.Connect to Bluetooth: Follow the steps above to establish a connection. | 2.Click the blank area between the top 'Add Text' and 'Reset Role' more than 10 times until the name modification dialog box appears |
| 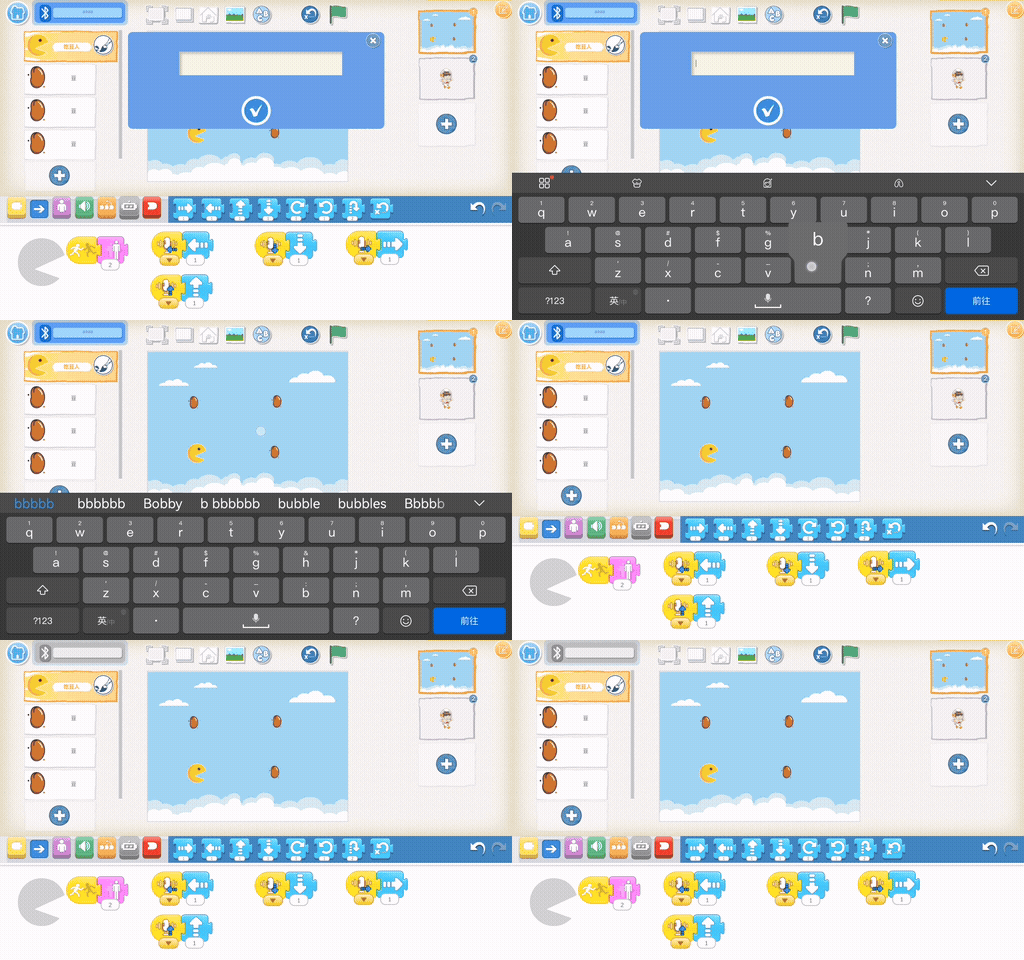 | 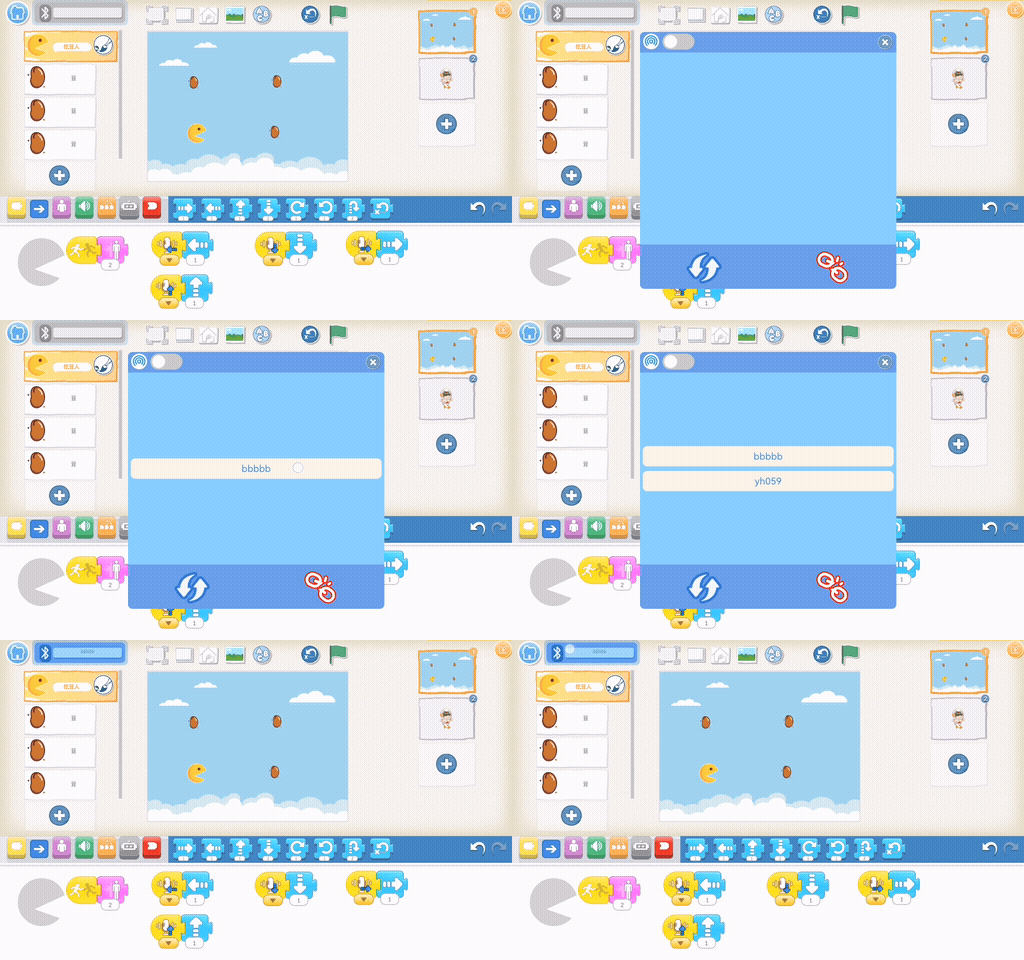 |
| 3.Input a new Bluetooth name in the pop-up window and confirm with the checkmark. | 4.Reconnect to the renamed Bluetooth device. |
## How to Use the Console
Steps:
|  | 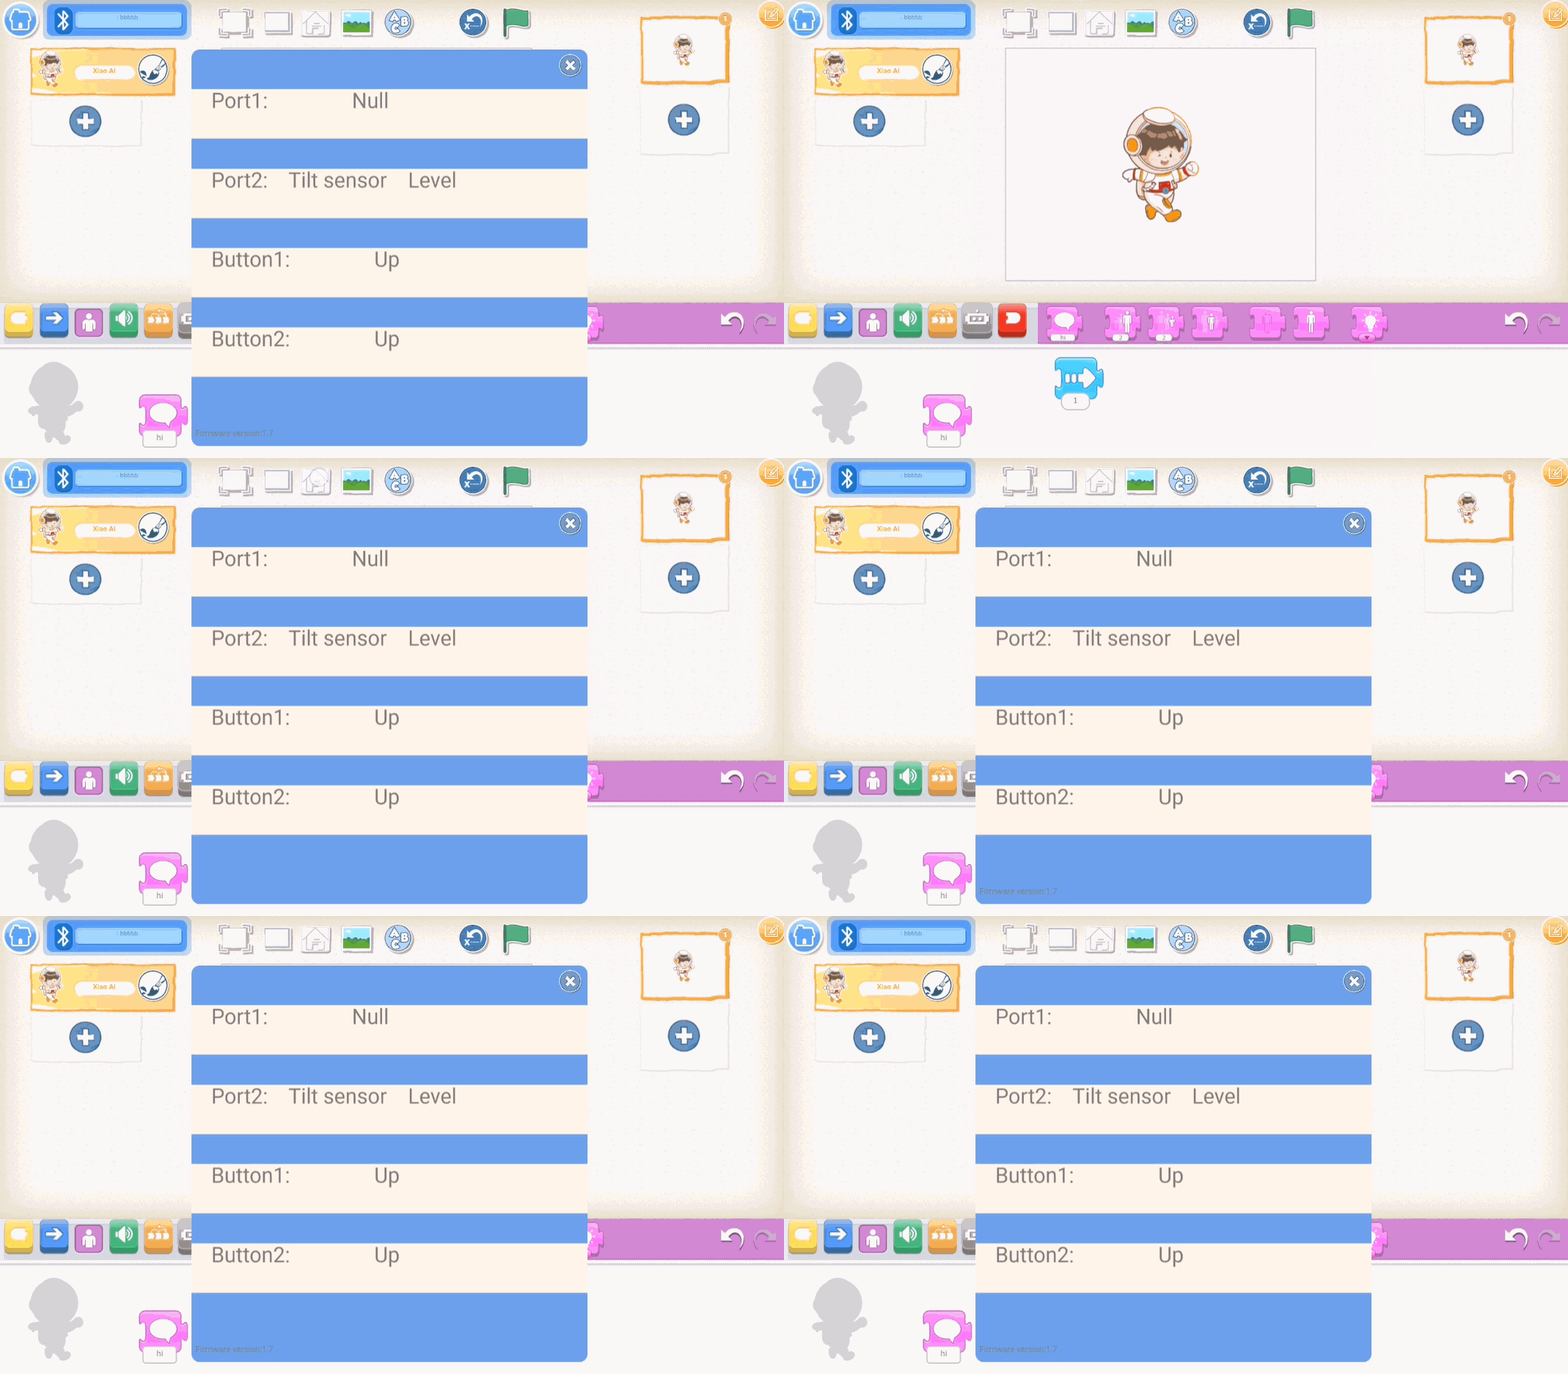 |
| --- | --- |
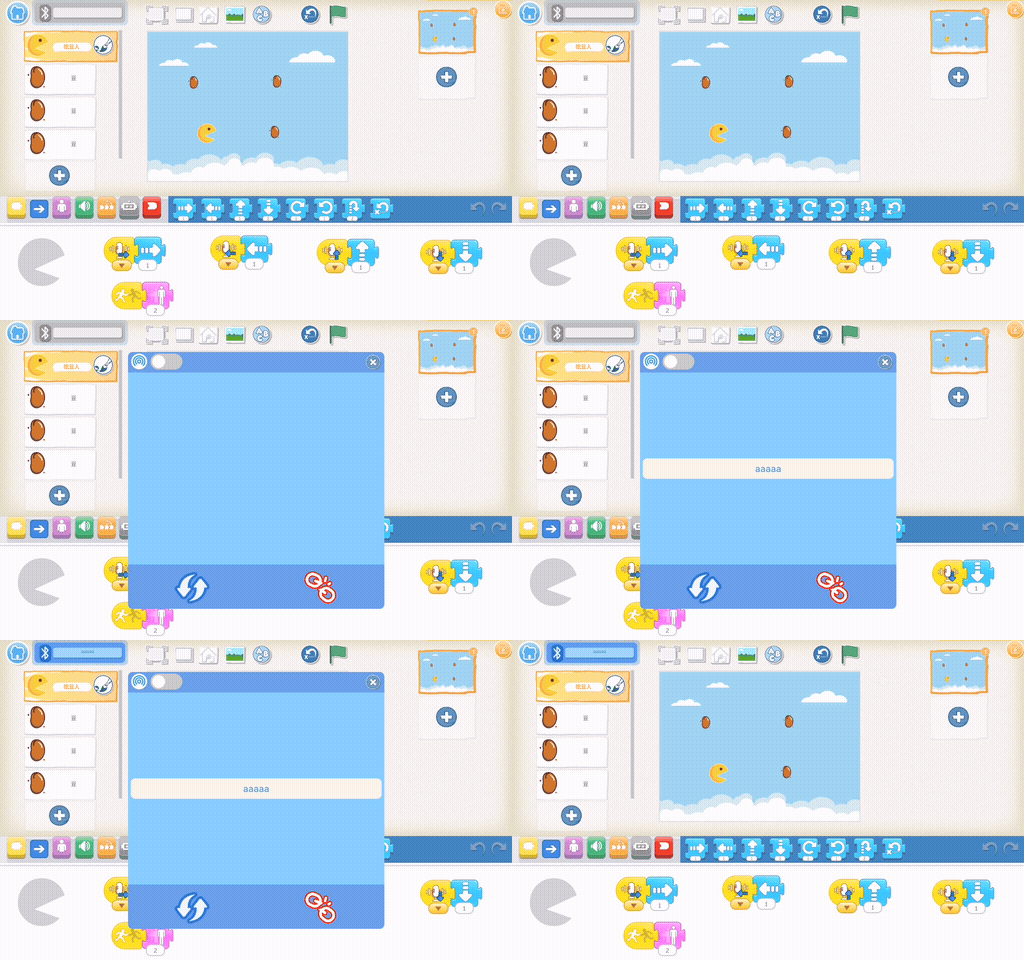
| 1.Connect to Bluetooth: Follow the steps above to establish a connection. | 2.Open the console: Tap the console button at the top of the app. |
| 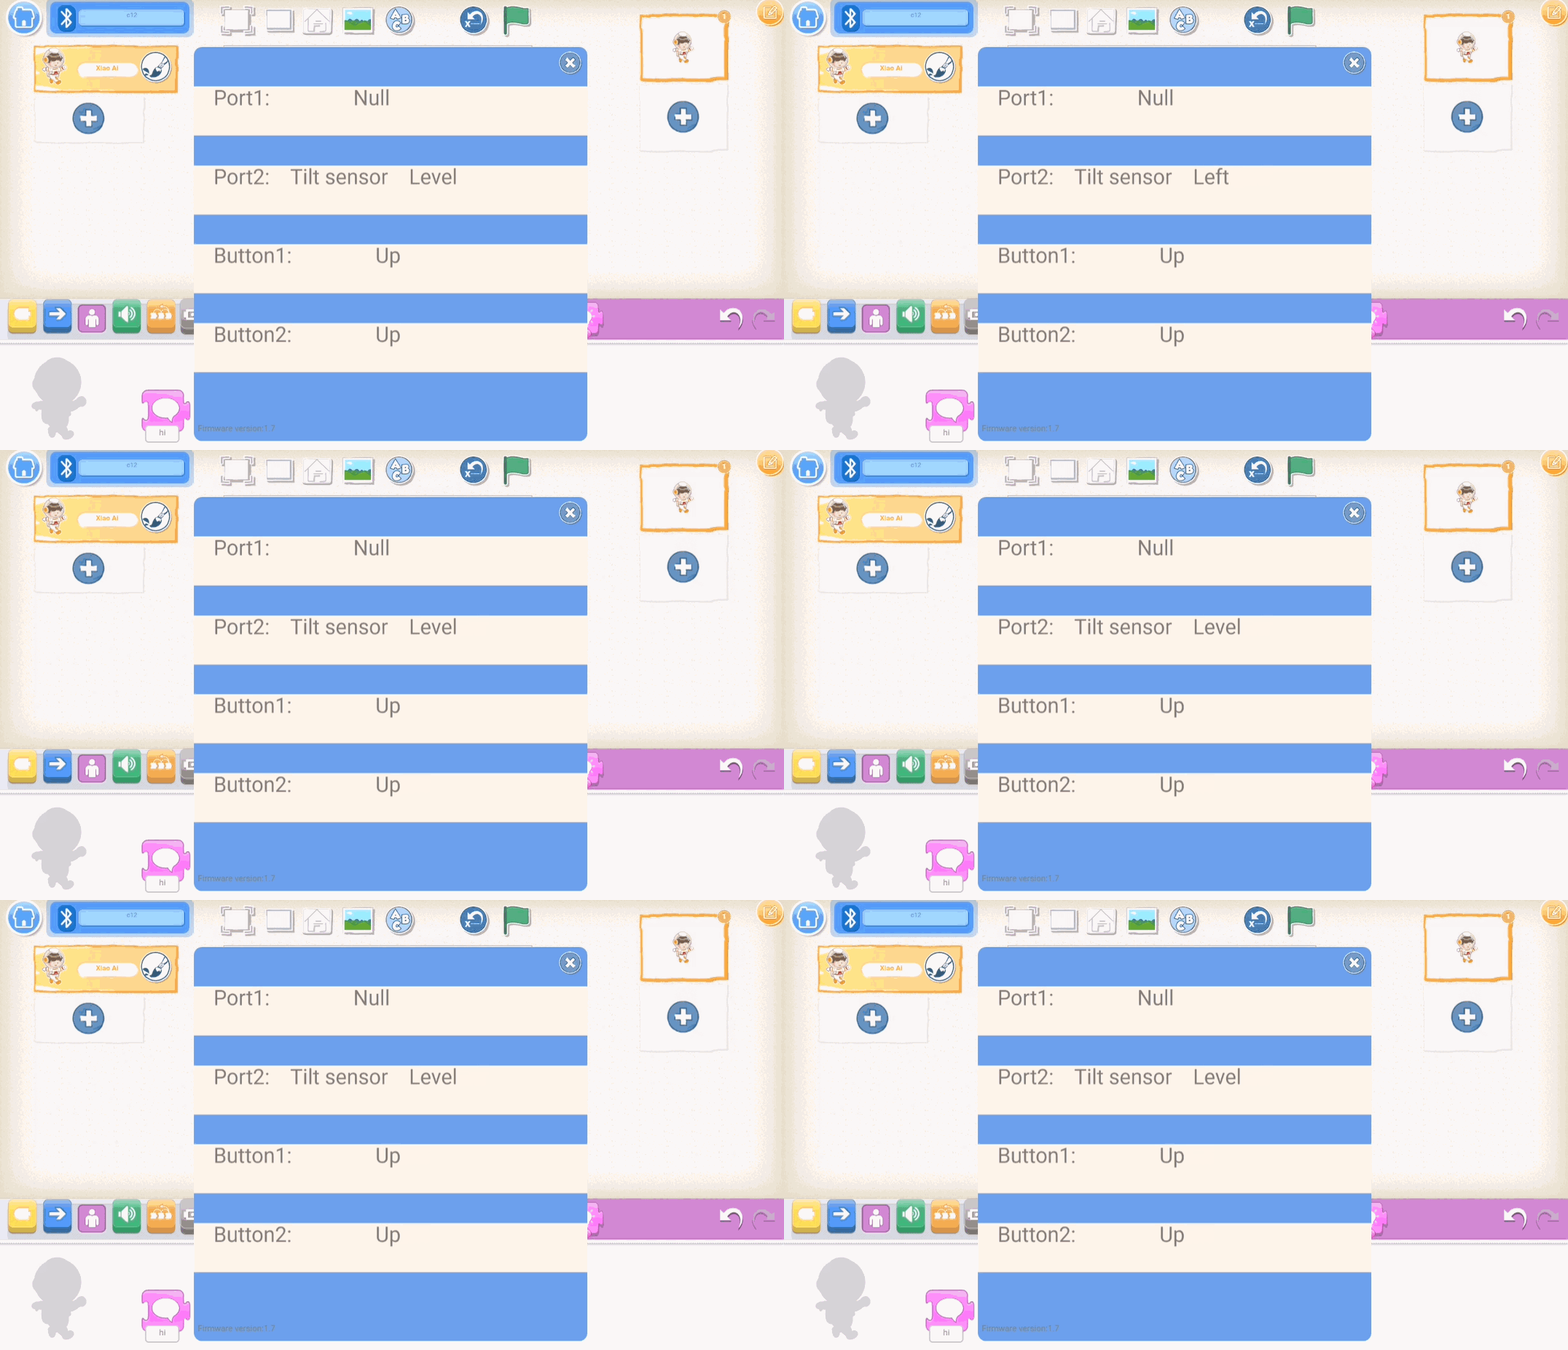 | 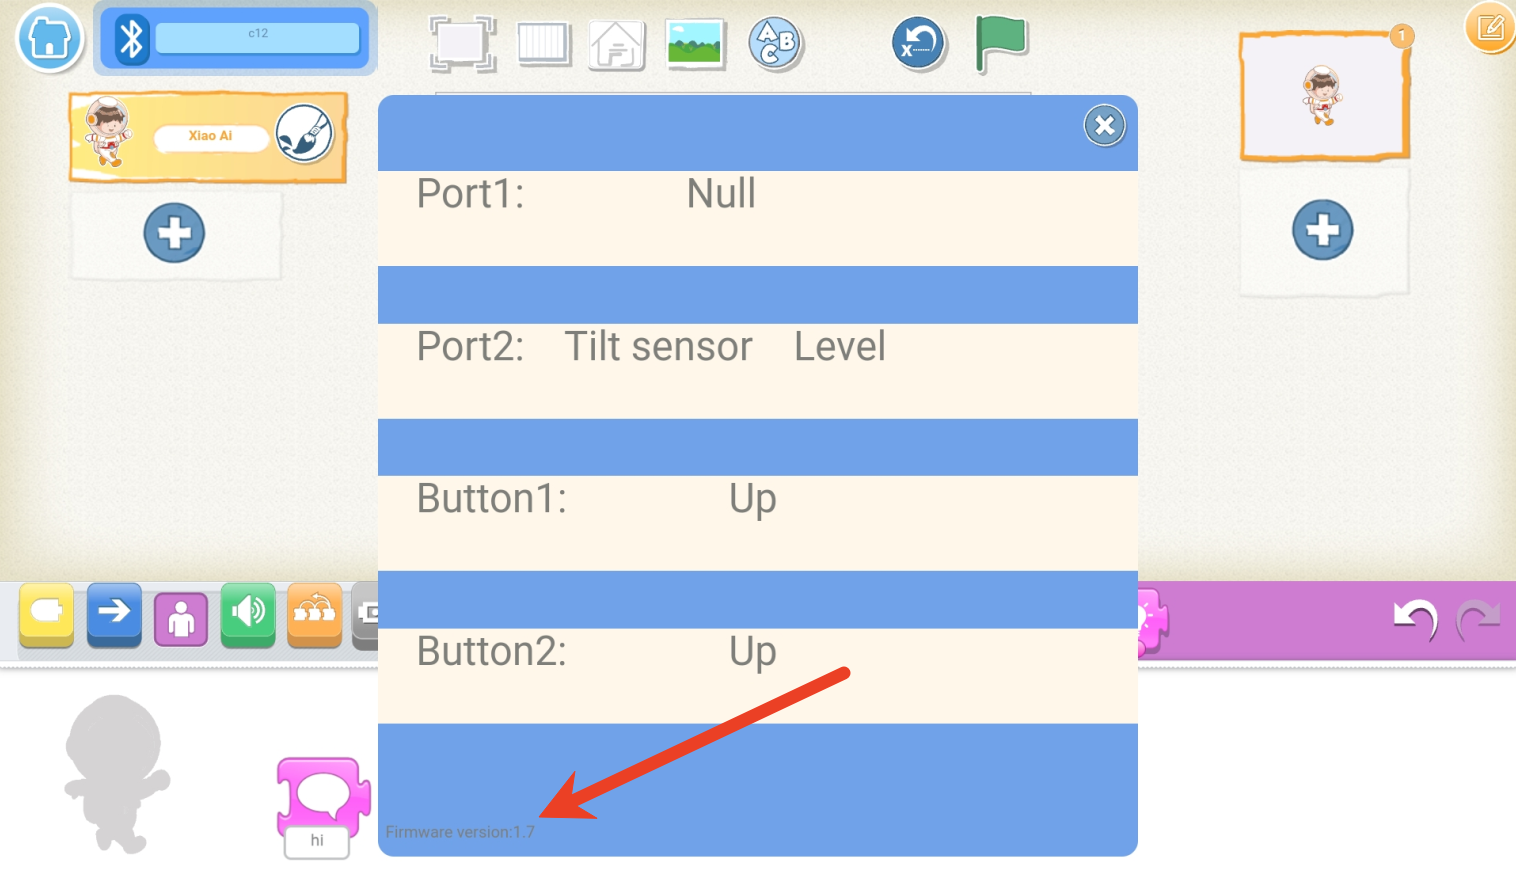 |
| 3.The pop-up window displays the status of two input ports and two buttons on
the controller in real time. | 4.The firmware version is displayed in the bottom-left corner of the pop-up. |
## Case Study
Using Xiao Q Robot Buttons to Move Characters
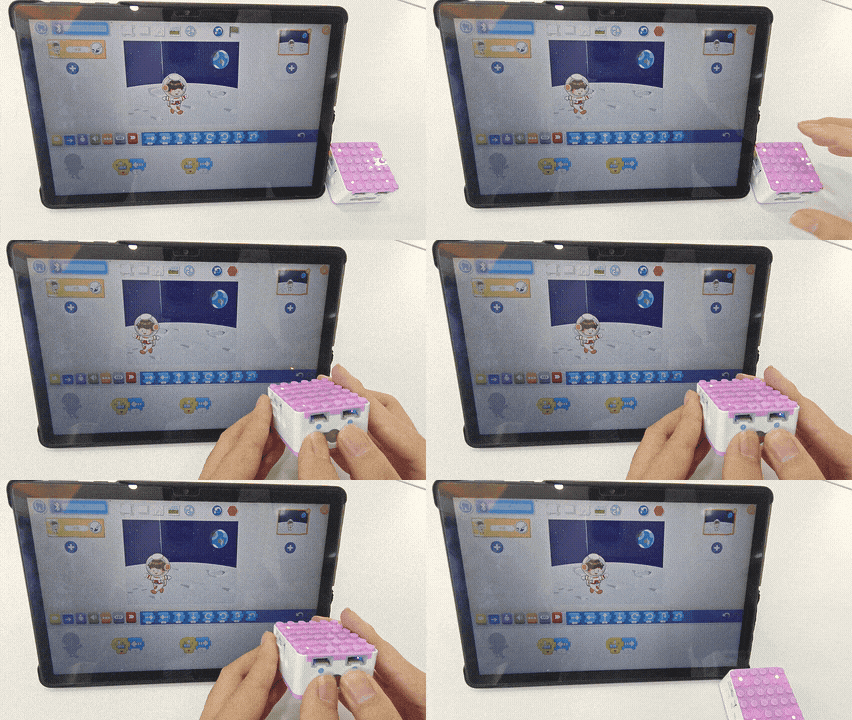
How to control the software character movement with the buttons on the Xiao Q Robot?
1. Preparation
|  |  |
| :---: | :---: |
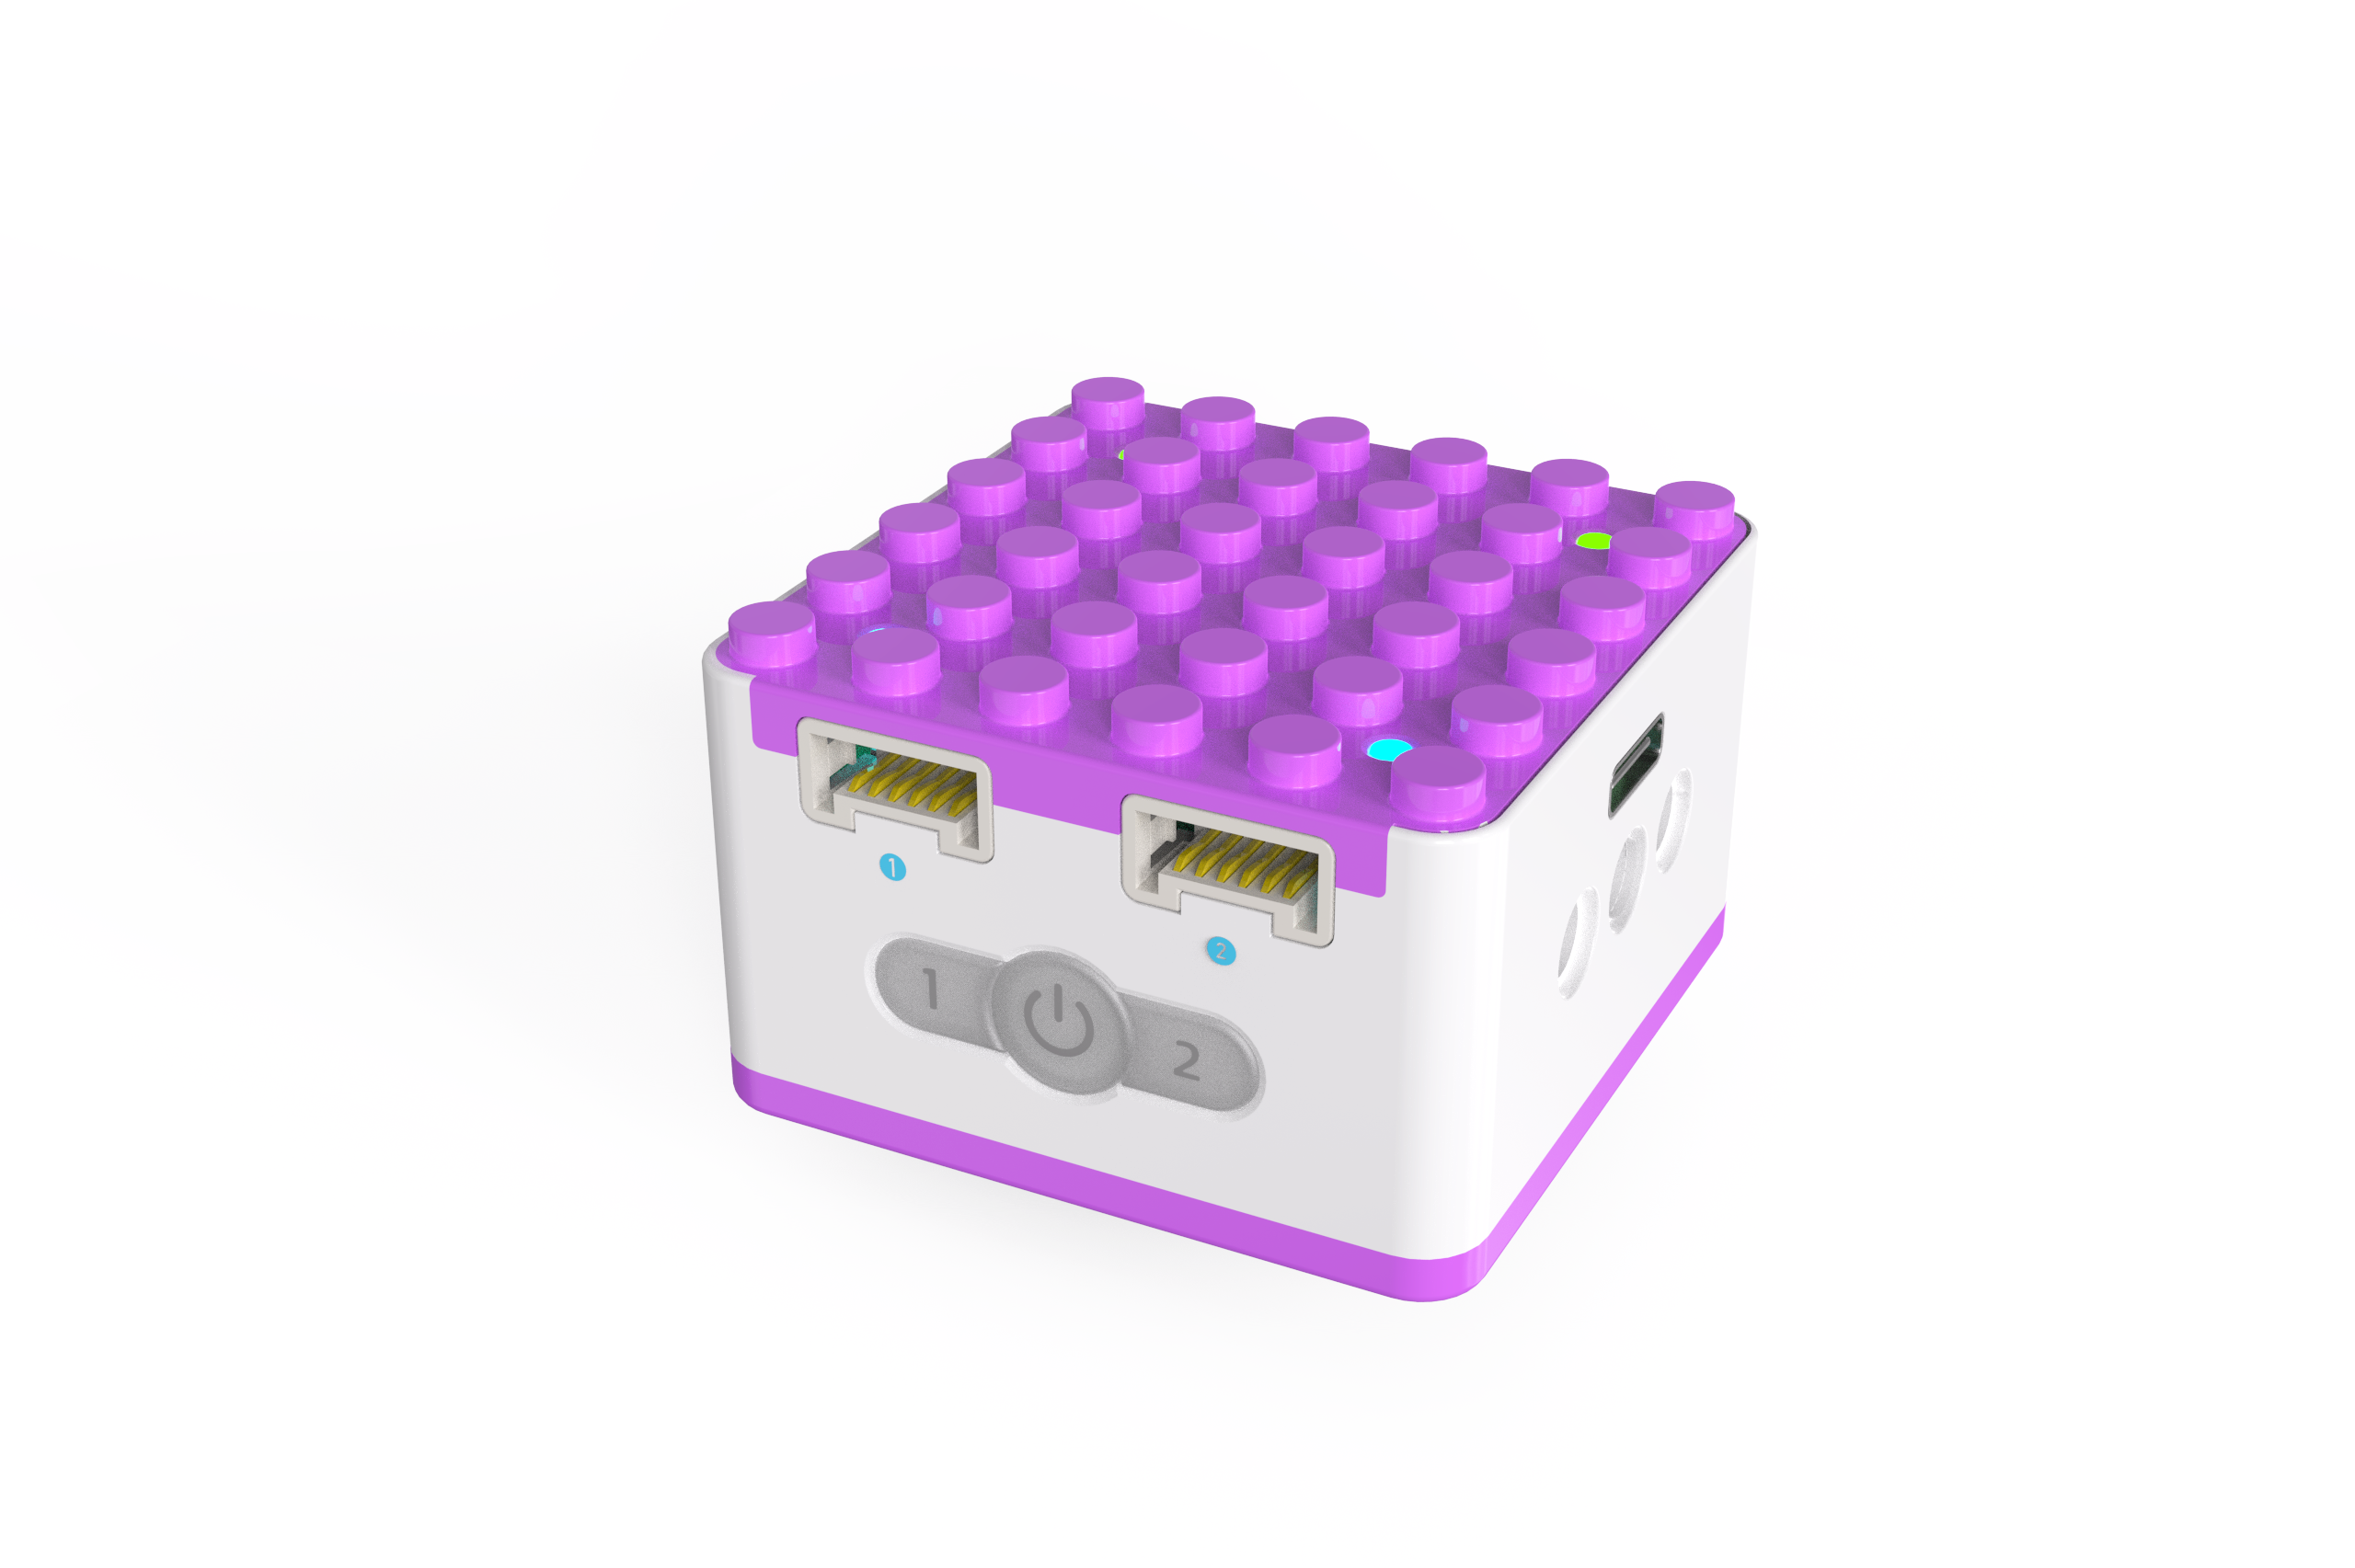
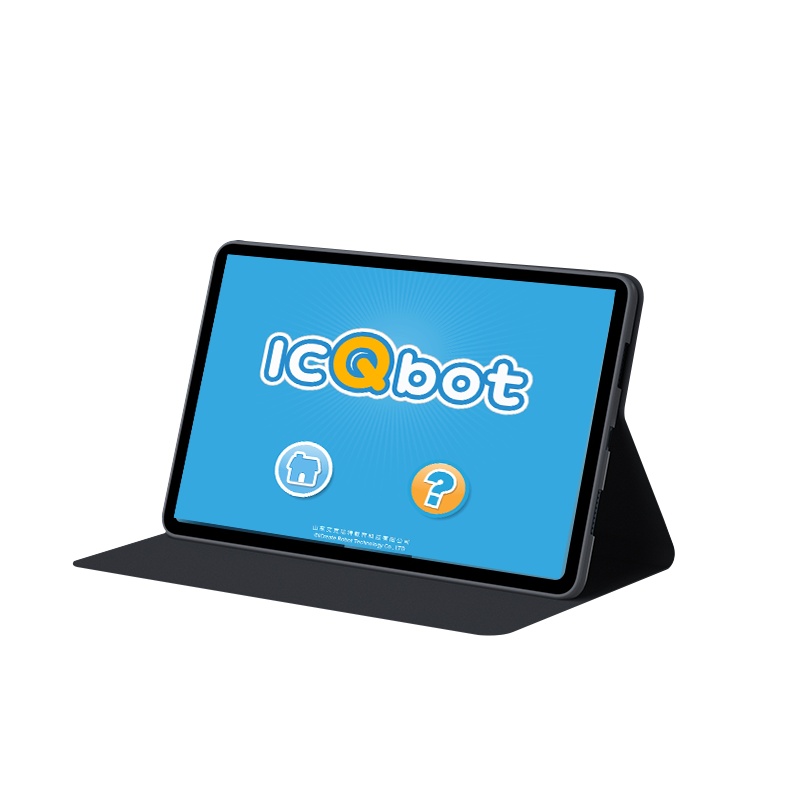
| KIDZQbot Xiao Q Robot × 1 | Android Tablet ×1 / iOS Tablet ×1 |
2. Steps:
|  |  |
| --- | --- |
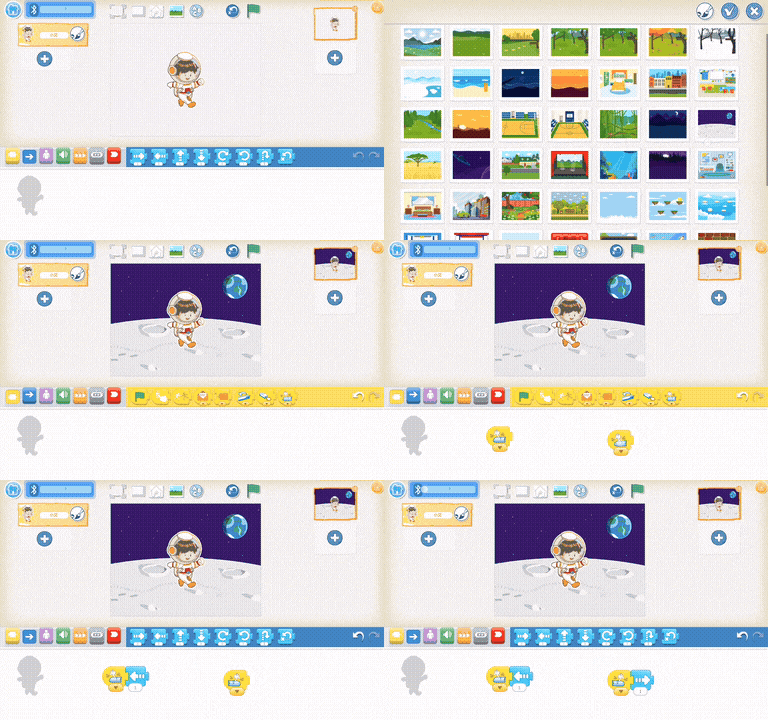
| 1.Turn on the Xiao Q Robot by holding the power button for 3s. Open the app, and connect via Bluetooth. | 2.Choose a lunar background and select the “Xiao Ai� character. Program Button 1 to move the character left by 1 step and Button 2 to move it right by 1 step. |
| 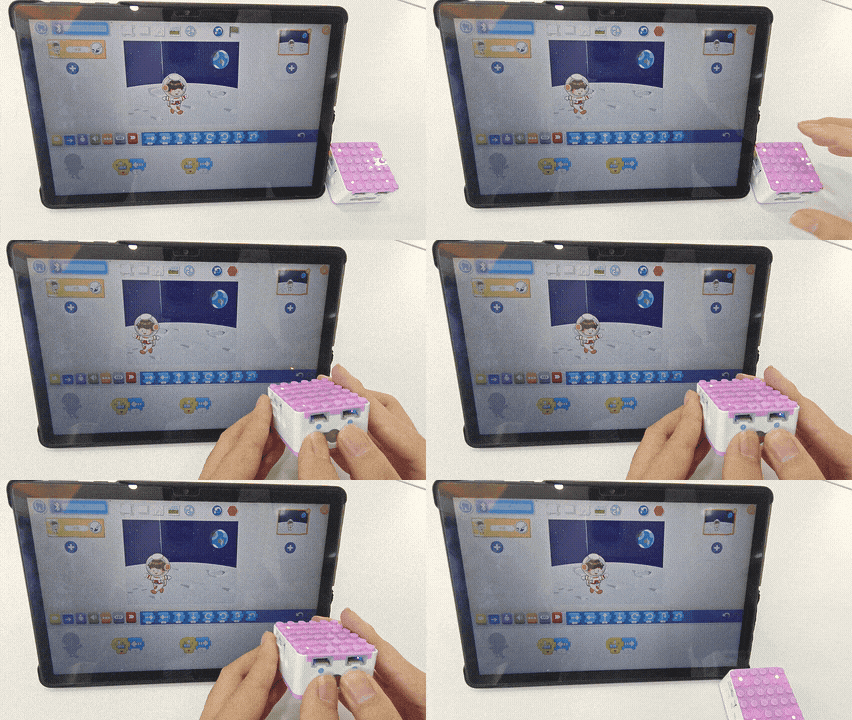 | |
| 3.Start and test the program to see the character move left and right with Button 1 and Button 2, respectively. | |
Tap [Learn More](/docs/KIDZQbot/04Featureoverview/04ProgrammingControlMode.html#case-1-software-programming) for additional case studies.